
Integrating with OneLogin
Satori provides you with the ability to integrate with OneLogin, a secure identity provider designed to protect your organization by securing and centralizing your applications, devices, and end-users all-in-one place.
Ensure that you have first setup the SCIM integration in Satori according to the following instructions:
Before you Start - Setup the SCIM Protocol
Satori integrates with identity providers to manage users and groups via the SCIM protocol.
SCIM - A System for Cross-domain Identity Management is a protocol for user management across multiple applications. It allows an IT or Operations team to easily provision (add), de-provision (deactivate), and update user data across multiple applications at once.
Setting up SCIM in Satori
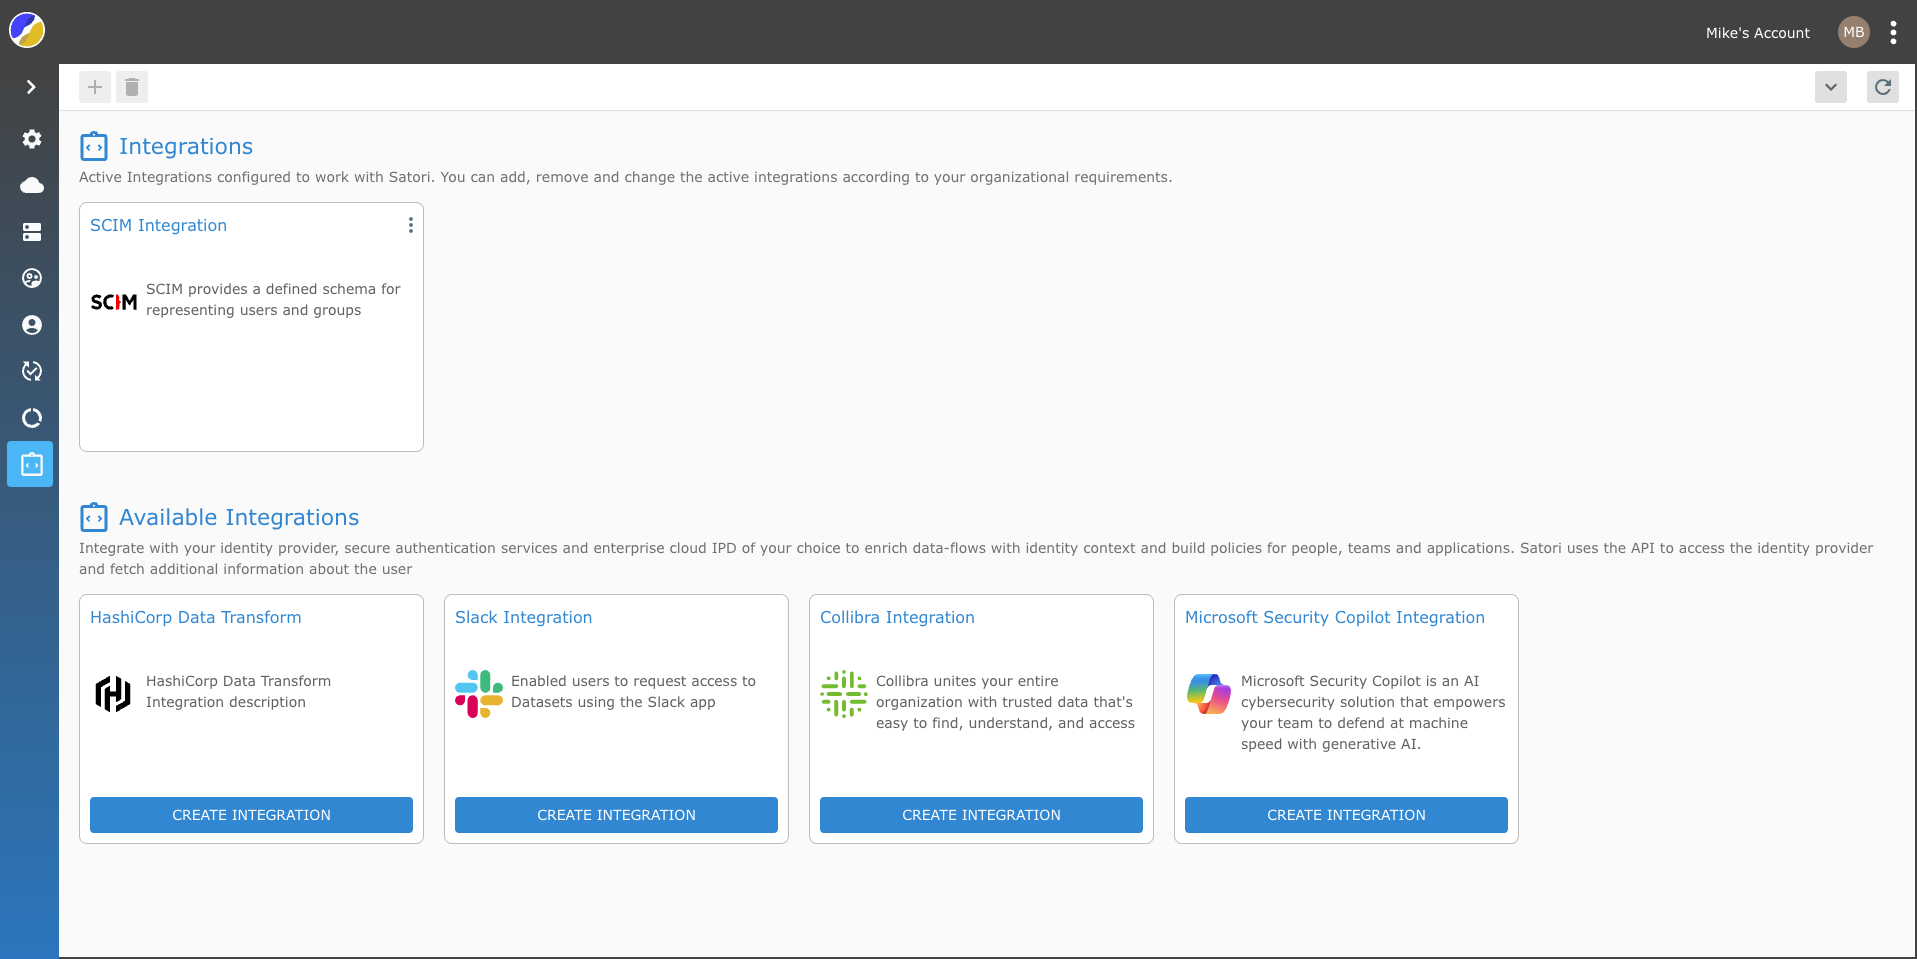
To set up the SCIM integration in the Satori Management Console, perform the following steps:
- Go to the Satori management console and select the Settings from the kabab menu.
- Now, select the Integration view and click on the SCIM Integration tile.
-
Click the Generate Access Token button.
NOTE: Remember to save the Provisioning URL and the SCIM Access Token as you will require them in order to complete the SCIM integration.
-
Your Satori SCIM integration should now appear as an active integration tile in Satori.
- Now select your IP and continue the integration process accordingly.
Note: If you want to enable your SSO login to access Satori then refer to the following section in the SSO documentation Satori SSO Documentation. You can use the same app that you created for the SSO integration for your SCIM integration.
OneLogin Integration - Step 1
To integrate OneLogin with Satori you can use an existing OneLogin application or create a new one. To create an integration between OneLogin and Satori perform the following steps:
- To add an app to your company app catalog, go to Applications > Applications and click the Add App button.
- Now search for SCIM Provisioner with SAML (SCIM v2 Enterprise).
- Provide the display name for your new application.
- Click SAVE
- Now select the Configuration view. (For new and existing apps)
- Refer to the section called Setting Up SCIM in Satori and copy the relevant values as they appear in task number four.
- Enter the Provisioning URL in the SCIM Base URL input field
- Enter the SCIM access token in the SCIM Bearer Token input field.
- Click the Enable button
- The Onelogin API Connection should now become Enabled.
- Click Save
OneLogin User Integration - Step 2
Once you have created your OneLogin application you must now enable the workflow provisioning.
- Select the Provisioning view
- Check the Enable Provisioning checkbox.
- Click Save
Note: You have now configured the OneLogin application to support individual users.
OneLogin Group (Role) Integration - Step 3
Now you will configure groups for you application:
- Select the Parameters view.
- Select the Groups option in the SCIM Provisioner with SAML table.
- Click the Include in user provisioning checkbox.
- Click Save in the popup dialog.
- Now click Save in the OneLogin application.
- Select the Rules view and click the Add Rule button.
- Provide a new mapping name.
- Go to the Actions section and select the Set Groups in
drop menu item. - Check the Map from OneLogin radio button.
- Select Role from the For Each drop menu list.
- Now enter .* in the corresponding input field.
- Click Save.
- Click Save in the OneLogin application.
Note: You have now configured the OneLogin application to support group provisioning.
Syncing OneLogin Users with Satori
To synchronize OneLogin users with Satori, perform the following steps:
- Click on the Users drop menu from the OneLogin application header and select the Users drop menu list item.
- Now click on a specific user from the list.
- Click the Applications view.
- Click the Plus button.
- Select the relevant application from the drop menu list.
- Click the Continue button.
- Click Save.
- Now click the Save User button
Note: You must repeat this procedure for each user that you want to add to Satori.
Syncing OneLogin Roles with Satori Groups
To synchronize OneLogin roles (groups) with Satori, perform the following steps:
- Click on the Users drop menu from the OneLogin application header and select the Roles drop menu list item.
- Now click on a specific role from the list.
- Click the Applications view.
- Click the Plus button.
- Select the relevant application.
- Click Save.
Note: You must add users to a OneLogin role in order to enable the provisioning of this role.
Note: Renaming a role in OneLogin will not rename the group in Satori. A new group with a new name will be created in Satori and the relevant users will be assigned to it, and removed from the old group. The old group should be manually removed from Satori.
Important Note: If you delete groups from OneLogin you must manually remove them from Satori.
Provisioning Failure State
When failed provisioning states occur or for updating group names or when there are unsynchronized resources, perform the following:
Click the Reapply entitlement mapping drop menu item from the More Actions drop menu list to refresh the app state.