
Integrating with JumpCloud
Satori provides you with the ability to integrate with JumpCloud, JumpCloud is a zero-trust directory platform that customers use to authenticate, authorize, and manage users, devices, and applications.
Ensure that you have first setup the SCIM integration in Satori according to the following instructions:
Before you Start - Setup the SCIM Protocol
Satori integrates with identity providers to manage users and groups via the SCIM protocol.
SCIM - A System for Cross-domain Identity Management is a protocol for user management across multiple applications. It allows an IT or Operations team to easily provision (add), de-provision (deactivate), and update user data across multiple applications at once.
Setting up SCIM in Satori
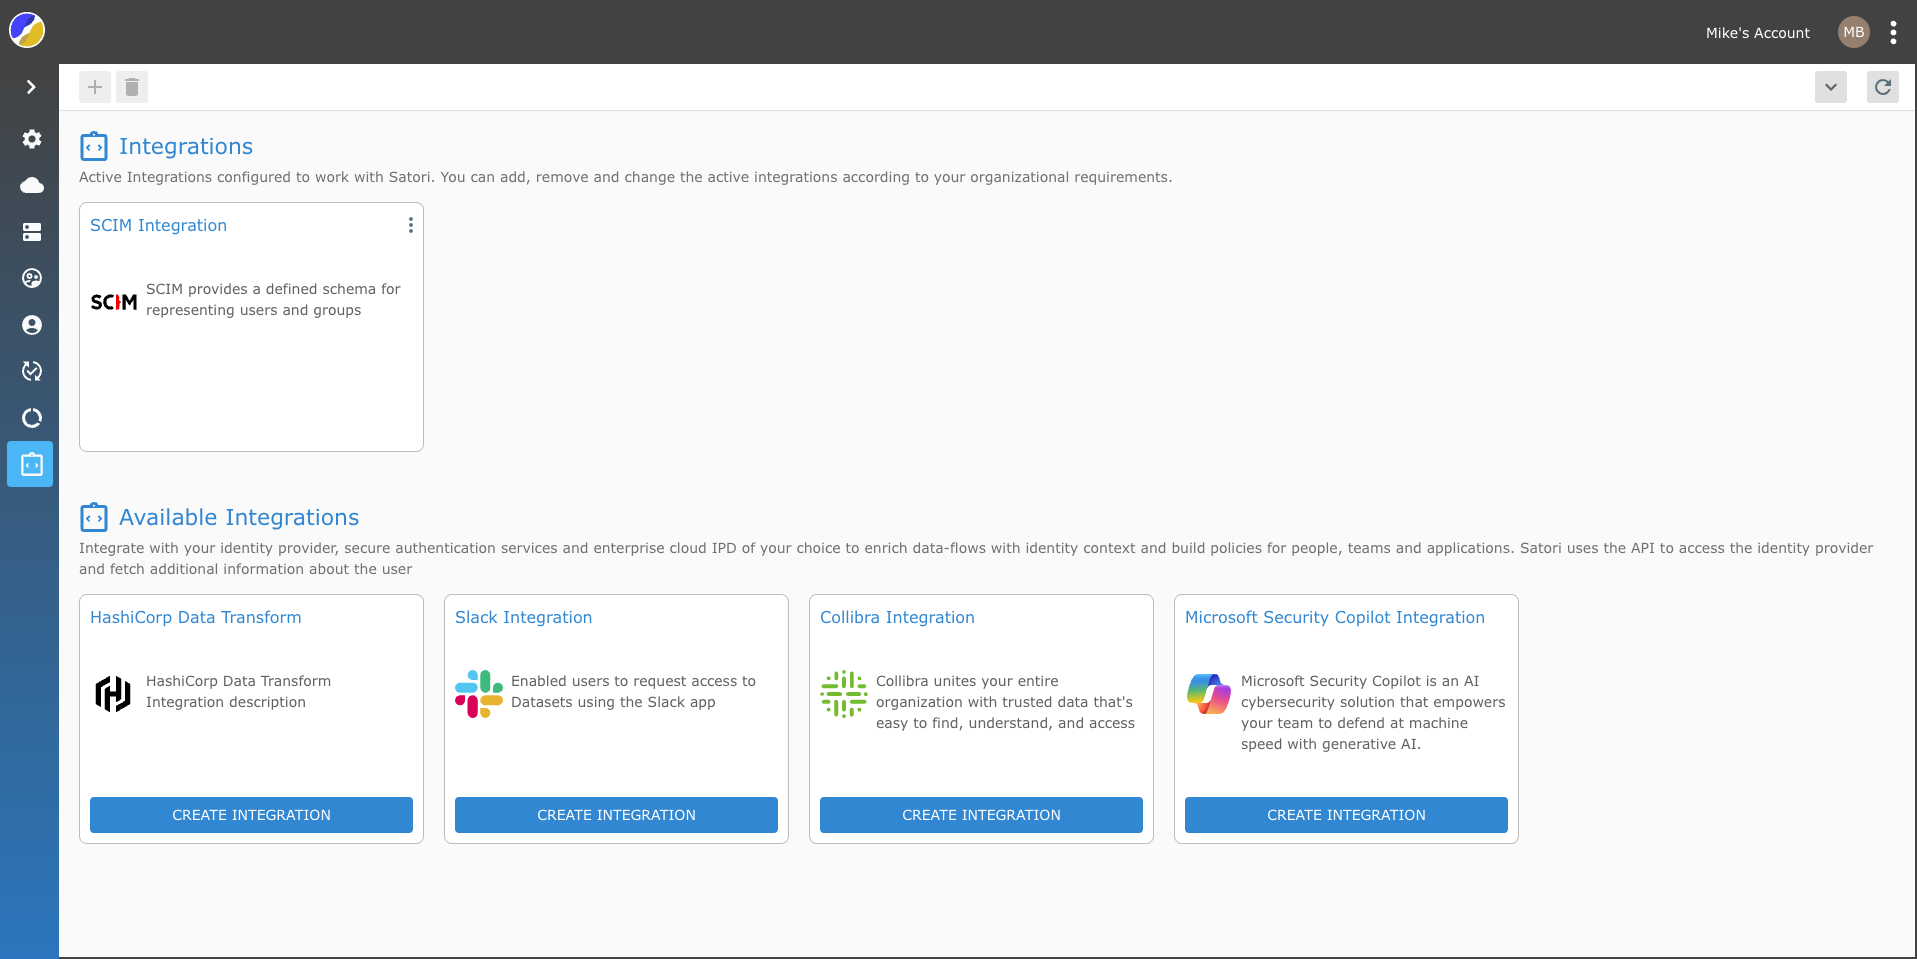
To set up the SCIM integration in the Satori Management Console, perform the following steps:
- Go to the Satori management console and select the Settings from the kabab menu.
- Now, select the Integration view and click on the SCIM Integration tile.
-
Click the Generate Access Token button.
NOTE: Remember to save the Provisioning URL and the SCIM Access Token as you will require them in order to complete the SCIM integration.
-
Your Satori SCIM integration should now appear as an active integration tile in Satori.
- Now select your IP and continue the integration process accordingly.
Note: If you want to enable your SSO login to access Satori then refer to the following section in the SSO documentation Satori SSO Documentation. You can use the same app that you created for the SSO integration for your SCIM integration.
Jumpcloud
To integrate Jumpcloud with Satori you can use an existing Jumpcloud application or create a new one. To create an integration between Jumpcloud and Satori perform the following steps:
- To add an app to your company app catalog, select SSO view from the application navigation left panel.
- Click the plus button
- Click on the Custom SAML App button located at the bottom of the dialog.
- In the General Info tab enter the Display Label in the input field.
- Now select the Identity Management tab and scroll down to the Configuration Settings and make sure that the SCIM API option is selected and the SCIM 2.0 option is also selected.
IMPORTANT NOTE: In order to enable the Identity Management for Jumpcloud you must first enable the SSO
- Refer to the section called Setting Up SCIM in Satori and copy the relevant values as they appear in task number four.
- Paste the Provisioning URL in the Base URL input field
- Paste the SCIM access token in the Token Key input field.
- Now enter a new email address (that does not exist in Satori) into the Test User Email input field.
- Click on the Test Connection button and ensure that the connection is successfully connected.
- Click the Activate button.
- Now click Save to complete the process. (This action closes the dialog).
- Now click and open the newly created application and select the User Groups tab.
- Check the relevant groups that you want to add to the Satori App.
- Go to the Satori Management Console, select the Identity Providers view from the Settings and verify that the groups and their members have been successfully added.
- Click Save