
Integrating with Microsoft Entra ID
Satori provides you with the ability to integrate with Azure Active Directory, a Microsoft Windows Azure Active Directory (Windows Azure AD or Azure AD) is a cloud service that provides administrators with the ability to manage end-user identities and access privileges.
Ensure that you have first setup the SCIM integration in Satori according to the following instructions:
Before you Start - Setup the SCIM Protocol
Satori integrates with identity providers to manage users and groups via the SCIM protocol.
SCIM - A System for Cross-domain Identity Management is a protocol for user management across multiple applications. It allows an IT or Operations team to easily provision (add), de-provision (deactivate), and update user data across multiple applications at once.
Setting up SCIM in Satori
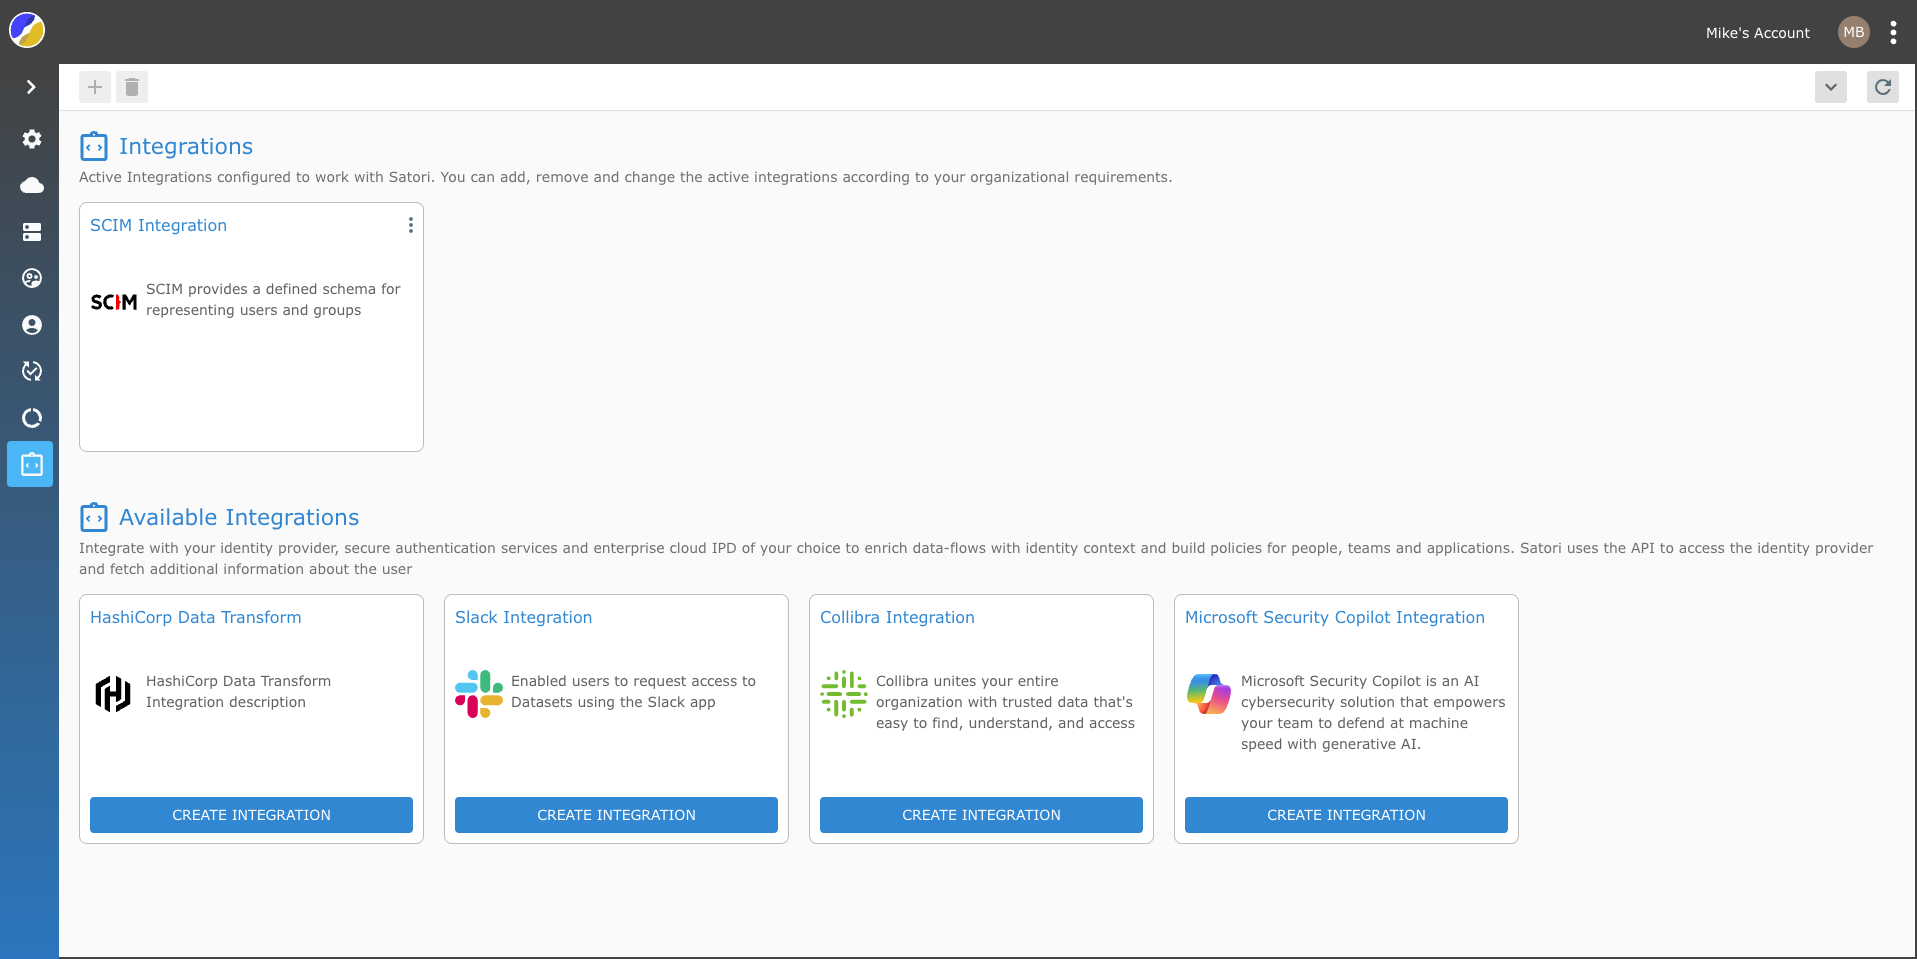
To set up the SCIM integration in the Satori Management Console, perform the following steps:
- Go to the Satori management console and select the Settings from the kabab menu.
- Now, select the Integration view and click on the SCIM Integration tile.
-
Click the Generate Access Token button.
NOTE: Remember to save the Provisioning URL and the SCIM Access Token as you will require them in order to complete the SCIM integration.
-
Your Satori SCIM integration should now appear as an active integration tile in Satori.
- Now select your IP and continue the integration process accordingly.
Note: If you want to enable your SSO login to access Satori then refer to the following section in the SSO documentation Satori SSO Documentation. You can use the same app that you created for the SSO integration for your SCIM integration.
Azure Active Directory Integration
To create the SCIM Integration in Azure perform the following tasks.
- Sign in to portal.azure.com.
- Open the menu in the top left corner.
- Select Azure Active Directory.
- In the Manage section, select Enterprise applications.
- Select New application, or if you have already created a SAML single sign-on application, you can select that application and add SCIM.
- Select Create your own application.
- Give the application a name.
- Select Integrate any other application you don't find in the gallery (Non-gallery).
- Click Create.
You will be taken to the Overview page for the newly created app.
- In the left-hand navigation, select Provisioning.
- Click Get started.
- For Provisioning Mode, select Automatic.
- If the Admin Credentials section doesn't display details, click the reveal triangle to expand it.
- Paste the Satori SCIM API that you copied earlier in the Tenant URL field.
- Paste the API token that you copied earlier in the Secret Token field.
- Click Test Connection.
- In the upper-left corner, click Save, then click the X in the upper-right corner to close the settings.
- On the Provision page, expand the Settings reveal triangle.
- For Scope, select whether to synchronize only those users and groups assigned in the Users and Groups section or synchronize all users and groups in the directory.
- Set the Provisioning Status to On.
- Click Save, then click the X in the upper-right corner to close the settings.
- Select Users and groups in the left sidebar, click Add user/group, and add the users or groups you want to provision in Satori. If you are using the free Azure tier, you will only assign users to the app synchronize all groups (See 20).
- In the left sidebar, select Provisioning, then click Start provisioning to begin the provisioning process.
IMPORTANT NOTE: If you are not using the user email address as the user principal name, Click on the Provision Azure Active Directory Users. In the Edit Attribute pane click on the Source Attribute drop menu and select the mail option from the list. Click the OK button to complete the attribute mapping.