Identity Providers (SCIM)
Satori integrates with identity providers to manage users and groups via the SCIM protocol.
SCIM - A System for Cross-domain Identity Management is a protocol for user management across multiple applications. It allows an IT or Operations team to easily provision (add), de-provision (deactivate), and update user data across multiple applications at once.
Setting Up SCIM in Satori
To set up the SCIM integration in the Satori Management Console, perform the following steps:
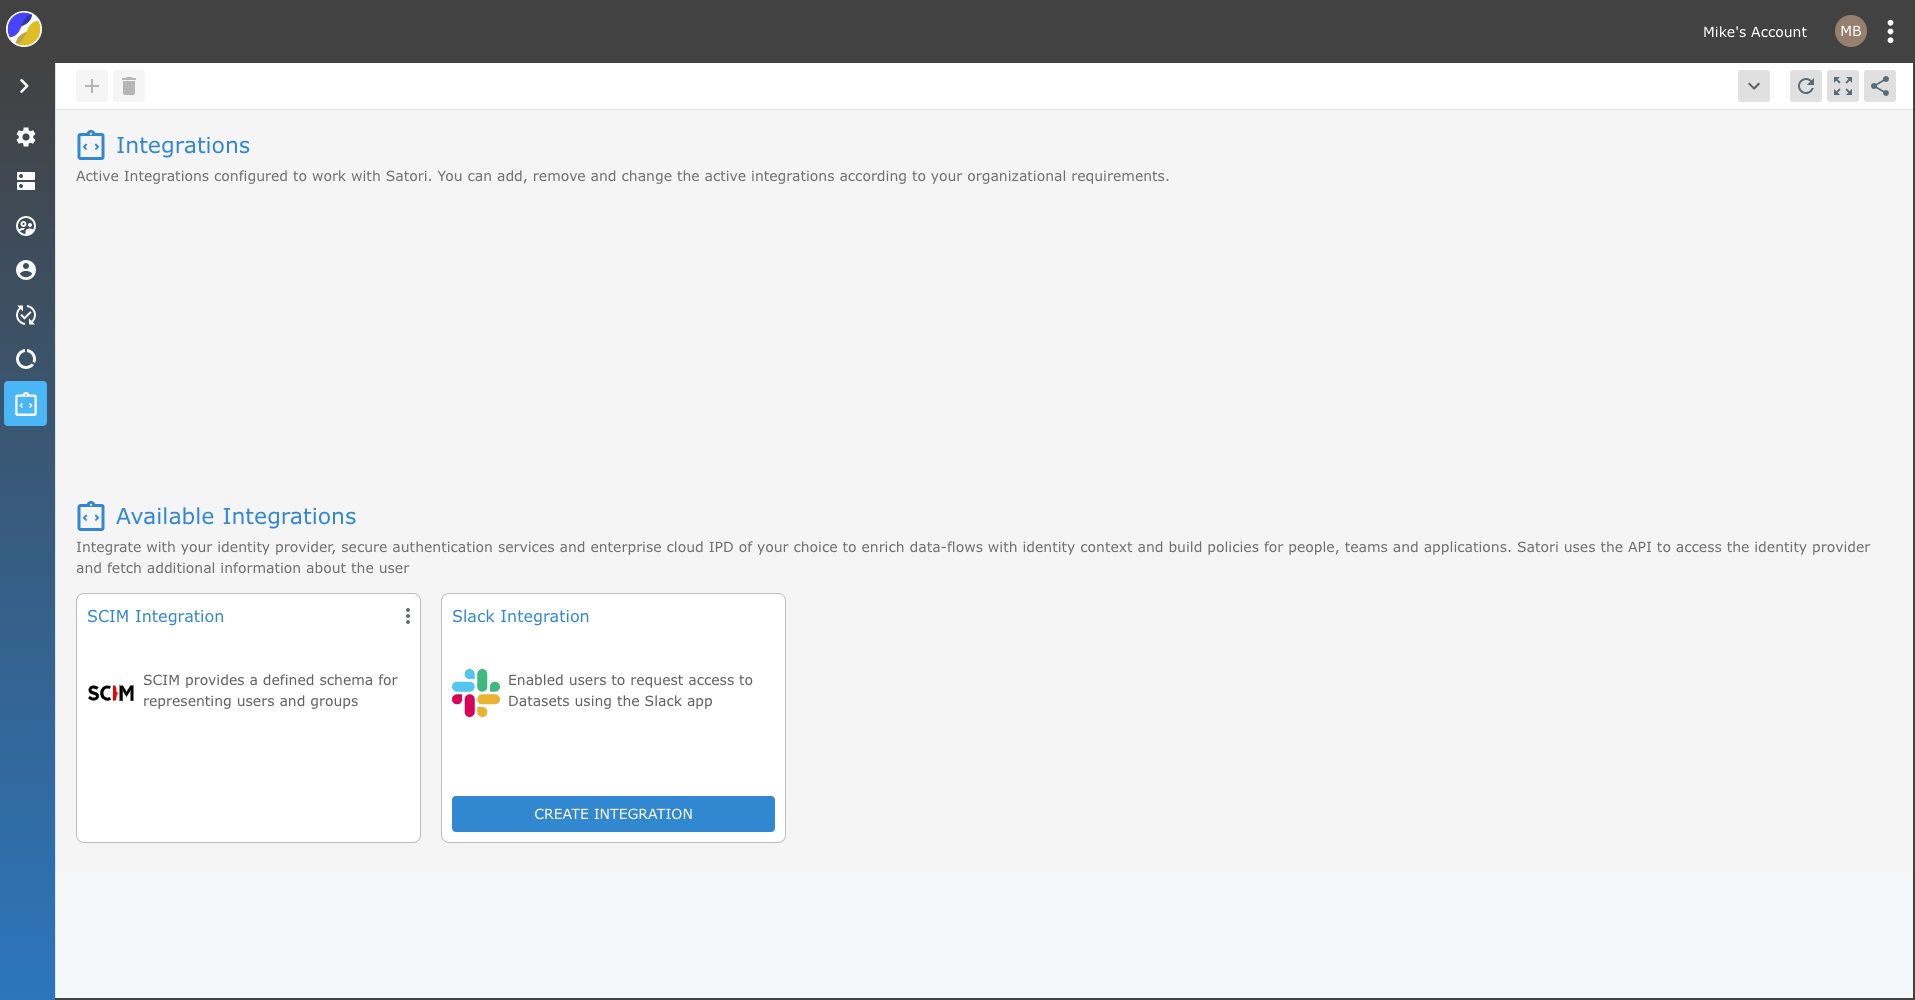
- Go to the Satori management console and select the Settings from the kabab menu.
- Now, select the Integration view and click on the SCIM Integration tile.
-
Click the Generate Access Token button.
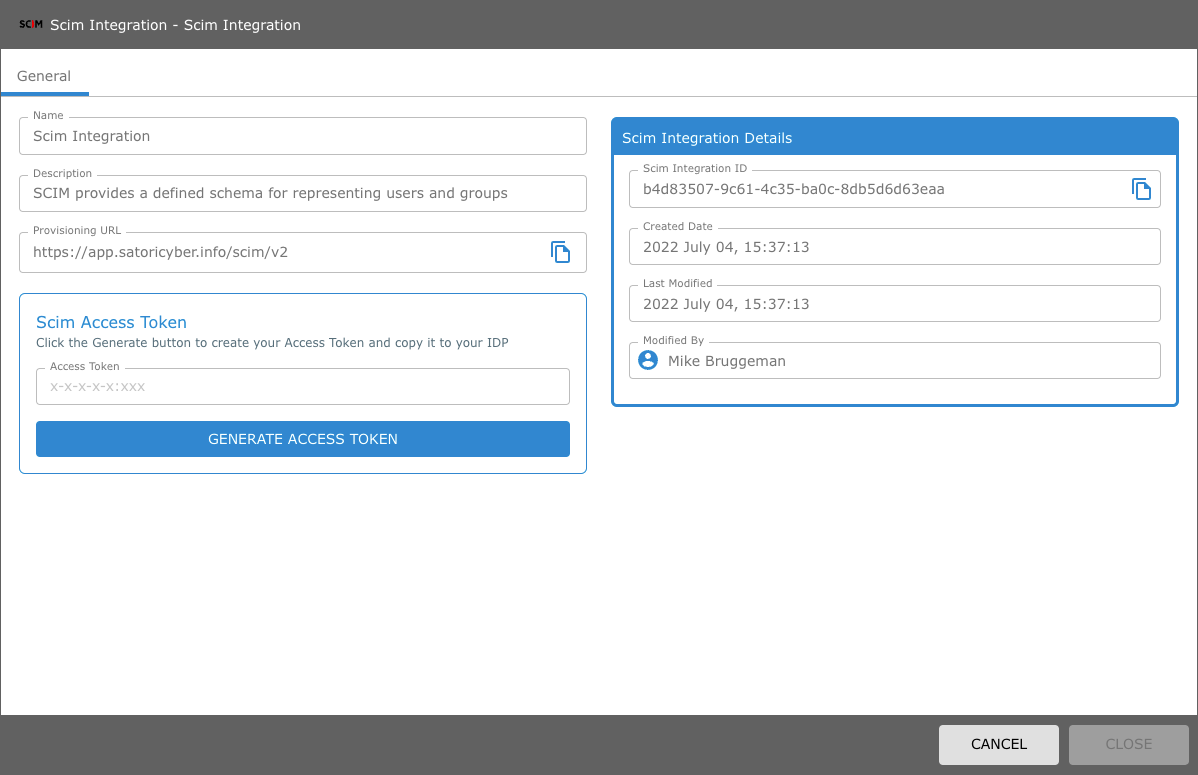
NOTE: Remember to save the Provisioning URL and the SCIM Access Token as you will require them in order to complete the SCIM integration.
-
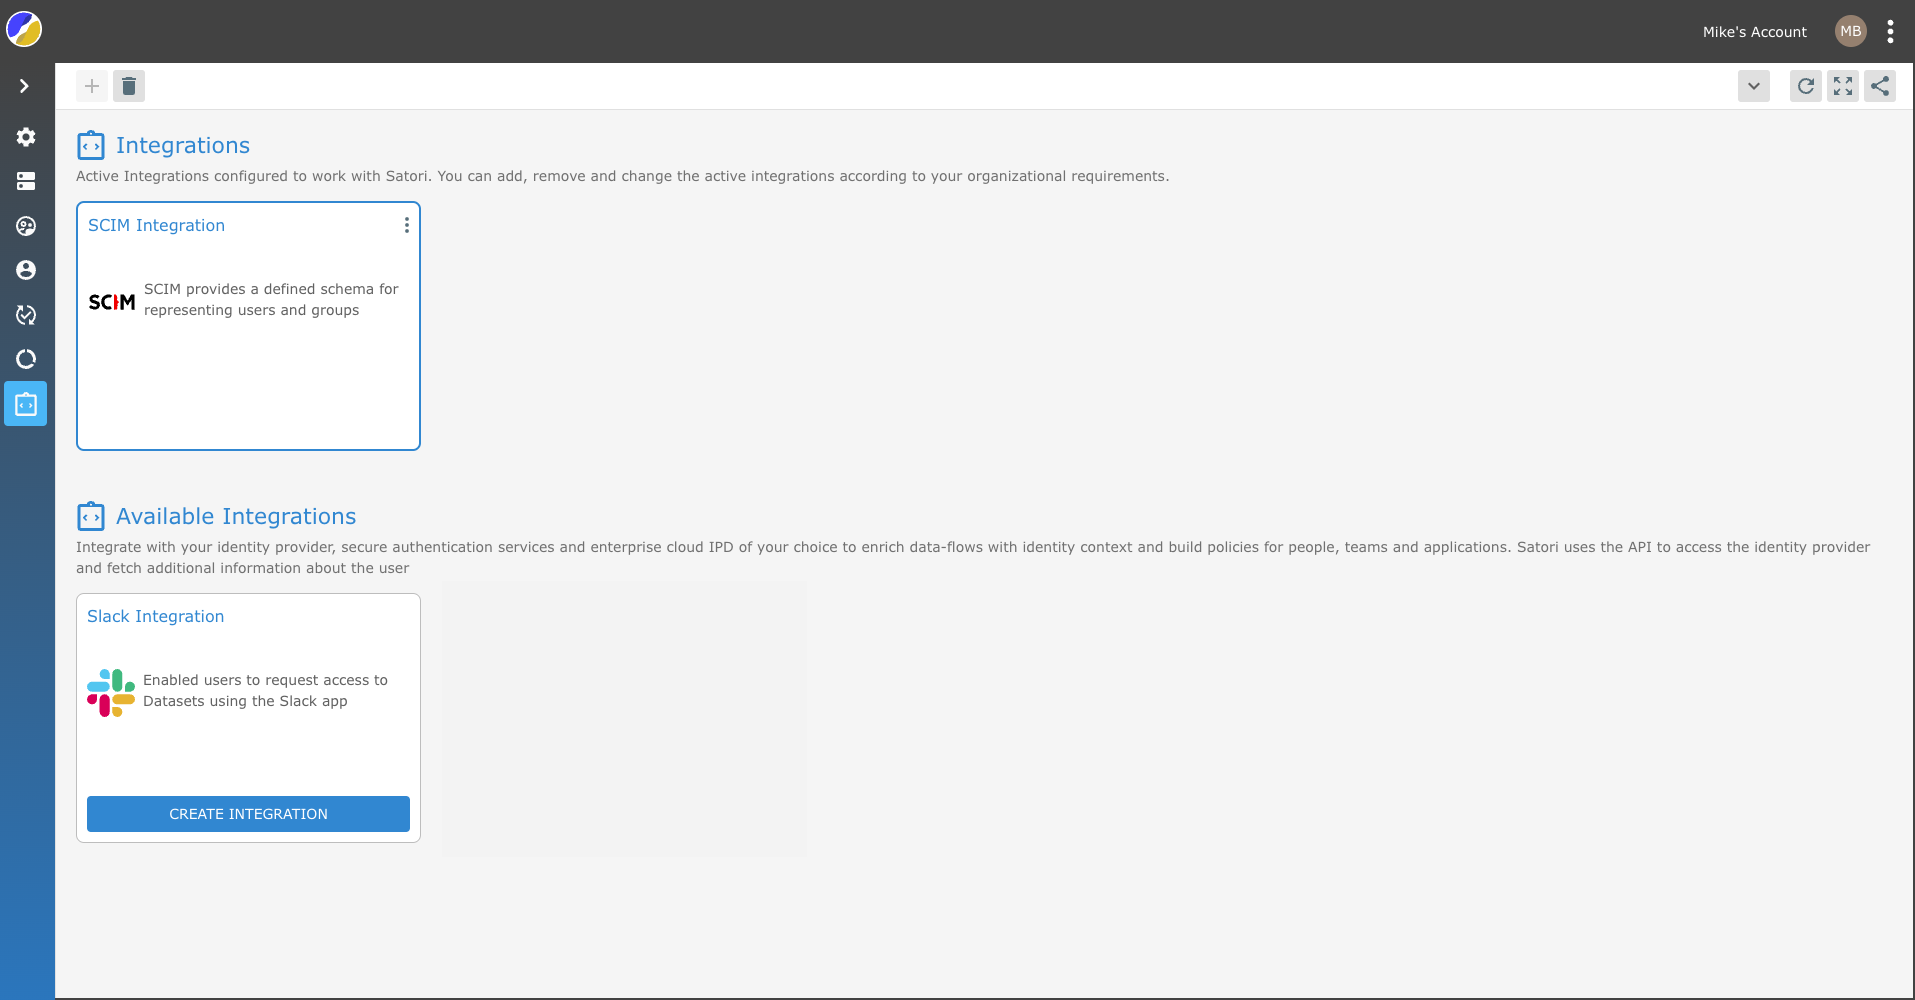
Your Satori SCIM integration should now appear as an active integration tile in Satori.
- Now select your IP and continue the integration process accordingly.
Note: If you want to enable your SSO login to access Satori then refer to the following section in the SSO documentation Satori SSO Documentation. You can use the same app that you created for the SSO integration for your SCIM integration.
Okta Integration - Step 1
To integrate Okta with Satori you can use an existing Okta application or create a new one. To create an integration between Okta and Satori perform the following steps:
-
Create a new Okta application by following the Adding Okta application instructions with Admin Dashboard.
-
Now that you have successfully created your Okta (SAML) application now you must configure it to integration with Satori utilizing the SCIM protocol.
- Now click the General Tab and press the Edit button in the App Settings section.
- Enable SCIM provisioning and the Save button.
- Now go to the Provisioning Tab and click the Edit button.
- Enter the Provisioning URL for Satori into the SCIM connector bass URL input field.
- Enter the value userName into the unique identifier field for users input field.
- Now checkbox the following options: Push New Users, Push Profile Updates and Push Groups
- Now, select the HTTP Header list item in the Authentication Mode drop menu.
- Copy the Satori SCIM access token into the Authorization input field.
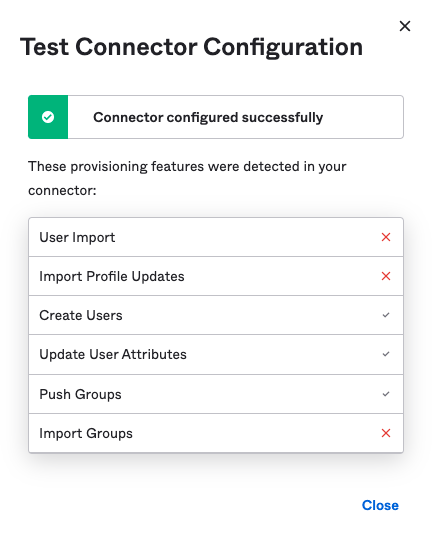
- Now press the Test Connector Configuration button.
- Once you have successfully verified the connection click Save.
- Test and verify the Connector Configuration ensuring that the provising features were detected correctly.
Okta Integration - Step 2
Now that you have successfully created the SCIM to Satori integration you need to enable user and group provisioning in Okta.
- Select the Provisioning Tab in the application that you just created.
- Click the Edit button and enable the Create Users, Update User Attributes and Deactivate Users provisioning options.
- Click Save.
Syncing Okta Users with Satori
To synchronize Okta users with Satori, perform the following steps:
- Select the Assignments tab
- Select the Assign to People option from the Assign drop menu list.
- Assign the relevant users in the popup dialog. Scroll to the bottom of the dialog and Save and Go Back.
- Click DONE
Existing Users
If you have existing users, then perform the following steps:
- Select the Assignments tab
- Click the Provision User button.
- Click the OK button.
Note: When assigning a group in the newly created Okta application, its members are synced to Satori but the group entity is not. To sync the group to Satori, follow the next set of steps.
Syncing Okta Groups with Satori
To synchronize Okta groups with Satori, perform the following steps:
- Select the Push Groups tab.
- Select the Find Groups by Name option from the Push Groups drop menu list.
- Now enter the name of the Okta group that you want to sync with Satori.
- Now select the Create Group option from the Create Group menu button.
- Click the Save button.
Note: Okta limitation: Using the same Okta group for assignments and for group push is not supported.
Using the same Okta group for assignments and for group push is not supported
OneLogin Integration - Step 1
To integrate OneLogin with Satori you can use an existing OneLogin application or create a new one. To create an integration between OneLogin and Satori perform the following steps:
- To add an app to your company app catalog, go to Applications > Applications and click the Add App button.
- Now search for SCIM Provisioner with SAML (SCIM v2 Enterprise).
- Provide the display name for your new application.
- Click SAVE
- Now select the Configuration view. (For new and existing apps)
- Refer to the section called Setting Up SCIM in Satori and copy the relevant values as they appear in task number four.
- Enter the Provisioning URL in the SCIM Base URL input field
- Enter the SCIM access token in the SCIM Bearer Token input field.
- Click the Enable button
- The Onelogin API Connection should now become Enabled.
- Click Save
OneLogin User Integration - Step 2
Once you have created your OneLogin application you must now enable the workflow provisioning.
- Select the Provisioning view
- Check the Enable Provisioning checkbox.
- Click Save
Note: You have now configured the OneLogin application to support individual users.
OneLogin Group (Role) Integration - Step 3
Now you will configure groups for you application:
- Select the Parameters view.
- Select the Groups option in the SCIM Provisioner with SAML table.
- Click the Include in user provisioning checkbox.
- Click Save in the popup dialog.
- Now click Save in the OneLogin application.
- Select the Rules view and click the Add Rule button.
- Provide a new mapping name.
- Go to the Actions section and select the Set Groups in
drop menu item. - Check the Map from OneLogin radio button.
- Select Role from the For Each drop menu list.
- Now enter .* in the corresponding input field.
- Click Save.
- Click Save in the OneLogin application.
Note: You have now configured the OneLogin application to support group provisioning.
Syncing OneLogin Users with Satori
To synchronize OneLogin users with Satori, perform the following steps:
- Click on the Users drop menu from the OneLogin application header and select the Users drop menu list item.
- Now click on a specific user from the list.
- Click the Applications view.
- Click the Plus button.
- Select the relevant application from the drop menu list.
- Click the Continue button.
- Click Save.
- Now click the Save User button
Note: You must repeat this procedure for each user that you want to add to Satori.
Syncing OneLogin Roles with Satori Groups
To synchronize OneLogin roles (groups) with Satori, perform the following steps:
- Click on the Users drop menu from the OneLogin application header and select the Roles drop menu list item.
- Now click on a specific role from the list.
- Click the Applications view.
- Click the Plus button.
- Select the relevant application.
- Click Save.
Note: You must add users to a OneLogin role in order to enable the provisioning of this role.
Note: Renaming a role in OneLogin will not rename the group in Satori. A new group with a new name will be created in Satori and the relevant users will be assigned to it, and removed from the old group. The old group should be manually removed from Satori.
Important Note: If you delete groups from OneLogin you must manually remove them from Satori.
Provisioning Failure State
When failed provisioning states occur or for updating group names or when there are unsynchronized resources, perform the following:
Click the Reapply entitlement mapping drop menu item from the More Actions drop menu list to refresh the app state.
Azure Active Directory Integration
To create the SCIM Integration in Azure perform the following tasks.
- Sign in to portal.azure.com.
- Open the menu in the top left corner.
- Select Azure Active Directory.
- In the Manage section, select Enterprise applications.
- Select New application, or if you have already created a SAML single sign-on application, you can select that application and add SCIM.
- Select Create your own application.
- Give the application a name.
- Select Integrate any other application you don't find in the gallery (Non-gallery).
- Click Create.
You will be taken to the Overview page for the newly created app.
- In the left-hand navigation, select Provisioning.
- Click Get started.
- For Provisioning Mode, select Automatic.
- If the Admin Credentials section doesn't display details, click the reveal triangle to expand it.
- Paste the Satori SCIM API that you copied earlier in the Tenant URL field.
- Paste the API token that you copied earlier in the Secret Token field.
- Click Test Connection.
- In the upper-left corner, click Save, then click the X in the upper-right corner to close the settings.
- On the Provision page, expand the Settings reveal triangle.
- For Scope, select whether to synchronize only those users and groups assigned in the Users and Groups section or synchronize all users and groups in the directory.
- Set the Provisioning Status to On.
- Click Save, then click the X in the upper-right corner to close the settings.
- Select Users and groups in the left sidebar, click Add user/group, and add the users or groups you want to provision in Satori. If you are using the free Azure tier, you will only assign users to the app synchronize all groups (See 20).
- In the left sidebar, select Provisioning, then click Start provisioning to begin the provisioning process.
IMPORTANT NOTE: If you are not using the user email address as the user principal name, Click on the Provision Azure Active Directory Users. In the Edit Attribute pane click on the Source Attribute drop menu and select the mail option from the list. Click the OK button to complete the attribute mapping.
Jumpcloud
To integrate Jumpcloud with Satori you can use an existing Jumpcloud application or create a new one. To create an integration between Jumpcloud and Satori perform the following steps:
- To add an app to your company app catalog, select SSO view from the application navigation left panel.
- Click the plus button
- Click on the Custom SAML App button located at the bottom of the dialog.
- In the General Info tab enter the Display Label in the input field.
- Now select the Identity Management tab and scroll down to the Configuration Settings and make sure that the SCIM API option is selected and the SCIM 2.0 option is also selected.
IMPORTANT NOTE: In order to enable the Identity Management for Jumpcloud you must first enable the SSO
- Refer to the section called Setting Up SCIM in Satori and copy the relevant values as they appear in task number four.
- Paste the Provisioning URL in the Base URL input field
- Paste the SCIM access token in the Token Key input field.
- Now enter a new email address (that does not exist in Satori) into the Test User Email input field.
- Click on the Test Connection button and ensure that the connection is successfully connected.
- Click the Activate button.
- Now click Save to complete the process. (This action closes the dialog).
- Now click and open the newly created application and select the User Groups tab.
- Check the relevant groups that you want to add to the Satori App.
- Go to the Satori Management Console, select the Identity Providers view from the Settings and verify that the groups and their members have been successfully added.
- Click Save
Satori Management App Attribute Mapping
Application attributes contain descriptive information about the individual users. Each attribute has a label and one or more values associated with it.
Note: Satori automatically provisions the following attributes:
- First Name
- Last Name
- Email Address
- Manager ID
- Groups
Customize Attribute Mapping for Okta
-
To add additional attributes to your SCIM provisioning, follow the Okta instructions here.
-
Map your attributes to the specific Satori namespace:
urn:ietf:params:scim:schemas:extension:satoricustom:2.0:User:FIELDNAMEwhere FIELDNAME is the desired and existing attribute you wish to map.
Customize Attribute Mapping for Azure
Perform the following steps in Azure to allow synchronization of additional attributes from Azure to Satori:
-
Map the desired user attribute field using the Azure attribute mapping.
-
Map your attributes to the specific Satori namespace:
urn:ietf:params:scim:schemas:extension:satoricustom:2.0:User:FIELDNAMEwhere FIELDNAME is the desired and existing attribute you wish to map. -
Because this area of Azure is deeply nested and difficult to find in their UX, we have provided a short tutorial video on this subject.
-
Once you follow these steps, the next time your SCIM provisioning runs, the new fields will show up in the user profiles in Satori.
-
More information on this Azure subject can be found here
Adding Satori Control Attributes
Satori control attributes allow Satori to manage control access for varification of the users identity.
To enable this feature perform the following:
Map your control attributes to the specific Satori namespace:
urn:ietf:params:scim:schemas:extension:satoricontrolattributes:2.0:User
The following attibutes can be utilized by Satori to provide you with the ability to authenticate users in addition to the email address.
Optional Aliases Attibute
These aliases are used by Satori to identify the user when logging in to the datastore using an alias.
Key: aliases
Type: string array
For Example
["alias1","alias2"]
Optional RAW Aliases Attibute
If your IdP does not allow you to map under the namespace an attribute with a string array type you can map aliases to a comma separated string.
Key: rawAliases
Type: string
For Example
“alias1,alias2,alias3”
NOTE: If you define both types of aliases (
aliases&rawAliases) under the namespace then thealiaseskey attribute will take precedence.